
Introduction to cutting your own hair
Learning how to cut your own hair is a skill that takes a lot of practice. However, the benefits of learning this skill can save you money, save you time, and give you more control of how you want to look. No need to schedule a haircut appointment or to read the sub-par magazines as you sit waiting in the busy barbershop. As an added bonus, cutting hair at home allows you to not have to wait so long between haircuts. You can cut it as soon as it gets a little too long for your liking and not have to worry about spacing out hair cut appointments to save money and time. If you’re ready to learn how to trim your hair, this article is for you.
One Small Caveat
There are different hairstyles for different facial shapes and there are opportunities for layers and bangs. However, a drastic hairstyle change may be better left to the professionals unless you’re prepared for whatever result that may occur. It is best to have an idea of what type of hairstyle you want before starting. Instructions for a specific style allow for more detailed instructions, but the following article will provide an informative introduction on how to trim your hair.
Long Hair Vs. Short Hair
Cutting hair at home differs in technique and supplies required when it comes to cutting long versus short hair. The article is divided into long and short hair sections instead of women and men because nowadays hair length is not indicative of the gender of a person. For hair longer than a bob-style or shoulder-length, go to the long hair section. For all hairstyles shorter than that (buzz cut, fade, etc.), go to the short hair section.
However, having a hair-cutting station is useful for any hair length or style you are attempting. A mirror is necessary, and a second mirror (so you can look at the back of your head) is even better. A towel or drape to prevent hair from getting on your clothes is useful, but not essential.
Long Hair
Supplies needed:
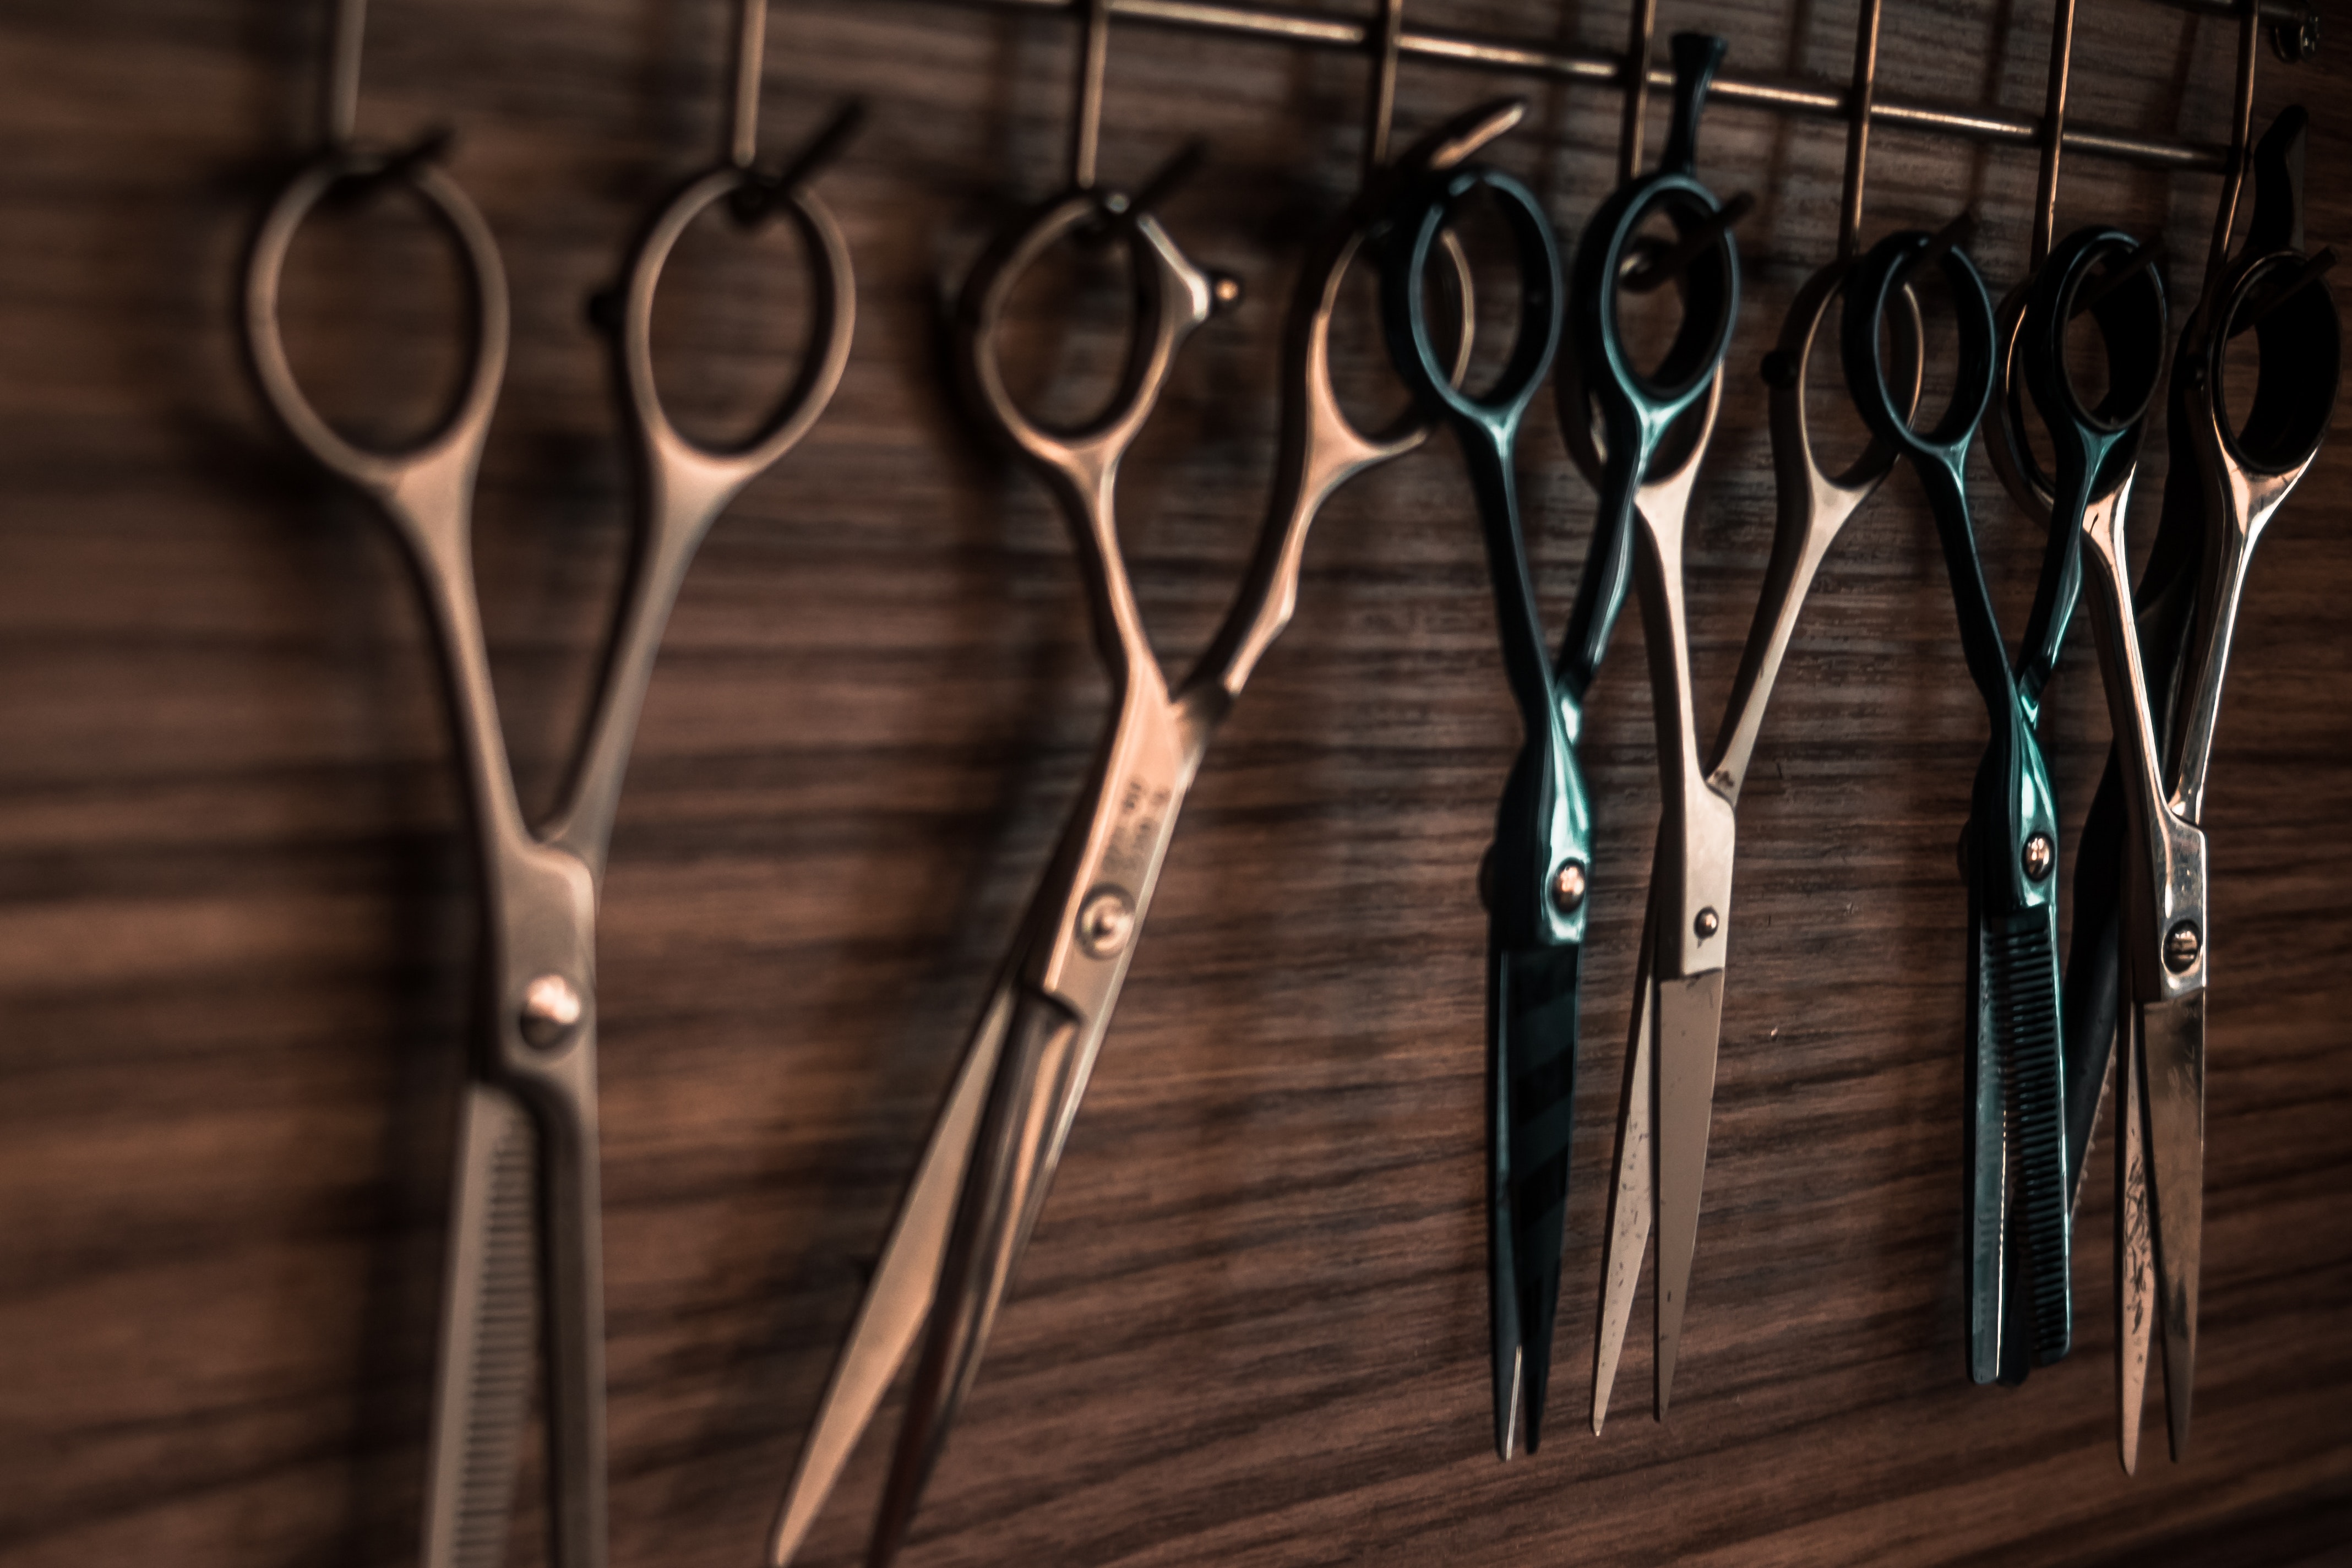
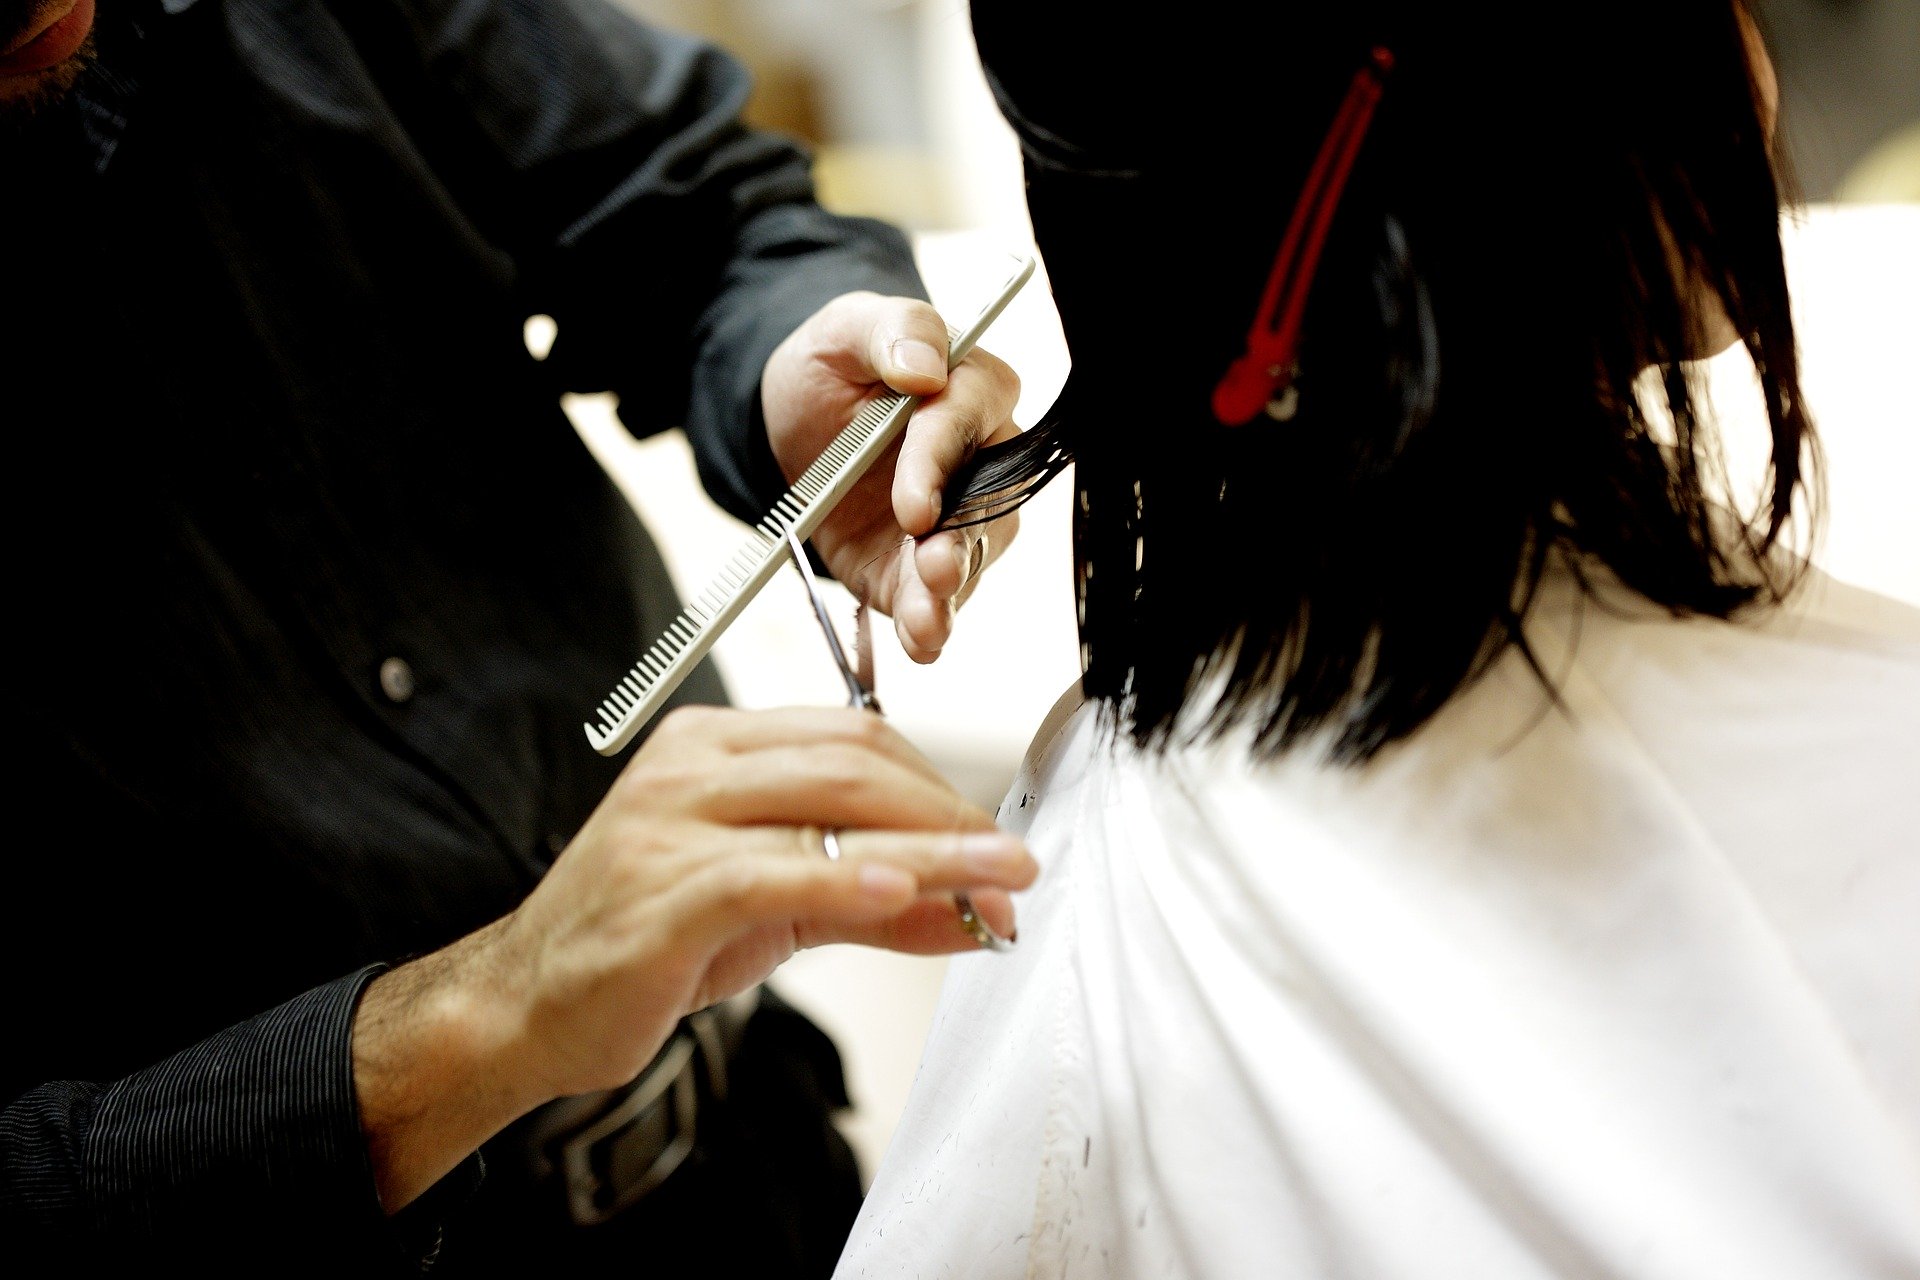
Scissors or shears specifically for hair (these are a lot sharper than your average kitchen or craft scissors and produce a cleaner edge).
Alligator clips for sectioning
A comb (wide and fine tooth options are useful for fine control)
Hair tool disinfectant
Optional: misting spray bottle
1. Brush or comb hair to get rid of any knots or tangles that could impact the length of your hair.
2. Section hair into manageable chunks and hold them together using alligator clips. Usually, it’s best to section it into four where the middle divider is your ears: front left, front right, back left, and back right.
3. Wetting the hair using water can be useful for self-haircuts when you want a clean edge, but be aware that it will look shorter once your hair dries. Therefore, if you have wavy or curly hair, it is recommended to cut it dry so the wet to dry transition isn’t as much of a surprise.
4. Collect a small section of hair and use the comb to go through the section until you reach a couple of inches past your desired length.
If you want a blunt cut, continue to step 5. If you are just trimming or cutting off split ends, skip to step 8.
5. Use two fingers to secure the section of hair, making it taut and cut horizontally.
6. Start cutting more sections of hair and match up the length with the previously cut strand from step 5. (It is helpful to have someone help with the back).
7. Once all hair is cut, divide your hair into two sections on the left and right and bring them forward in front of your shoulders. They should be the same length and lined up when looking straight forward. Make any adjustments as necessary.
For blunt cut: step 8 will create a less harsh cut
For trimming: step 4 skipped to step 8
8. Use two fingers to secure a section of hair and cut vertically (where the shears and your hair strands are parallel) to create varying lengths. This gives the appearance of natural hair growth.
9. Cut hair to your desired length and style. Spot cut or clip sections that look uneven.
10. Clean tools using a disinfectant and sweep up hair to dispose of in your compost bin.
11. Wash or rinse hair to get rid of any leftover hair remnants
12. Style using your usual hair products and to see your final look!
Short Hair
Supplies needed:
Electric clippers with different attachment guards (usually range from 1/16″ to 1″) and ear tapers
A comb (wide and fine tooth options are useful for fine control)
Hair tool disinfectant
Optional: Scissors or shears specifically for hair
Optional: misting spray bottle
Optional: a self-cut mirror (a panel of three mirrors that are angled toward one other that allows you to see the front and both sides of your head at once).
Before attempting cutting hair at home, it is useful to know what your preferred clipper level(s) is when you usually get your haircut.
1. Brush or comb hair to get rid of any knots or tangles that could impact the haircut. Brush or comb the way your hair naturally grows.
2. Select the attachment guard of the desired length (it is recommended to start small and go up from there).
3. Starting with the sides and make your way toward the back of your head while ignoring the top. For basic haircuts, you usually use the same attachment guard for the sides and back of your head. (It is helpful to have someone assist you with the back). Go against your natural hair grain for a clean cut.
4. Use different attachment guards and/or a tilted motion to create a faded natural transition effect. For the lower sections of your head, use a shorter guard attachment and move in an upward, then away motion for an even fade.
If you prefer more hair and/or textured styled hair on the top of your head, consider using haircut shears on the top of your head to trim lightly. For longer-haired section trims, continue to step 5. For all other cuts, skip to step 6.
5. Use two fingers to secure a section of hair and cut vertically (where the shears and your hair strands are parallel) to create varying lengths. This gives the appearance of natural hair growth.
6. Use the ear taper attachments to create a natural tapered effect of the hair near your ears. It will also protect your ears and produce a cleaner cut. Remember that there are specific ear taper attachments for the left and right ear!
7. Use another mirror (or a friend) to taper your neckline. It should be a nice and even line.
8. Cut hair to your desired length, style, and shape.
9. Use a comb to brush through the hair on the top of your head. This can bring choppy or irregularities to view. Spot cut or clip sections that look uneven.
10. Clean tools using a disinfectant and sweep up hair to dispose of in your compost bin.
11. Wash or rinse hair to get rid of any leftover hair remnants
12. Style using your usual hair products and to see your final look!
13. Cutting the hair on the back of your hair and creating a seamless and faded look for self-haircuts is a skill that needs a lot of practice. The first haircut might be a little rough and choppy, but it can only get better from there!
Conclusion
If you’re feeling discouraged about your hair cutting skills and techniques, it is sometimes helpful to get a refresher course by a professional. When you or a friend goes to get a haircut, observe how the hairstylist works. Because you have a foundation of knowledge already, the new things you observe can be easier added to your “how to cut your hair” arsenal.
And there you have it! How to cut your hair! Cutting hair at home is both practical and useful. Not only is learning how to trim your hair a great skill to have, but it can also open doors to cutting other people’s hair such as your family or significant other. However, more practice on yourself is recommended before attempting to cut or trim anyone else’s hair. The key is to do your research, watch as many hair-cutting videos as possible, and practice, practice, practice! There are even diagrams that will show you how to section your hair depending on the style desired. Remember to start with a little at a time. You can always cut more hair, but you can never get the hair back once you’ve cut too much!